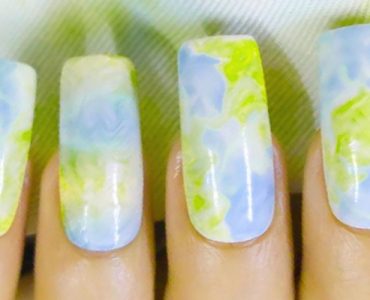
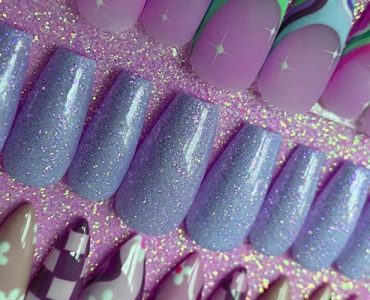
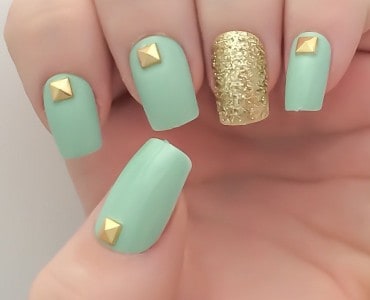
Press on nails or glue on nails is one of the fastest and easiest ways to achieve amazing and unique manicures. What makes them better than acrylic and gel nails is that they are also quicker and simpler to remove. To make things even better, you don’t need to use acetone or file just to take off your press on nails.
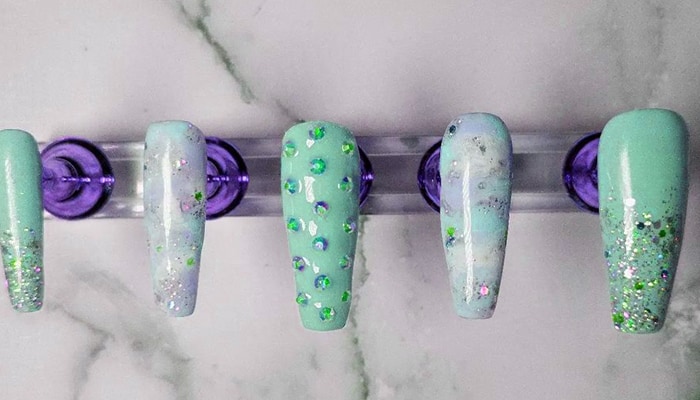
Why Learn How to Remove Press On Nails Without Ruining Them?
For ladies who want gorgeous nail arts without the hefty price tags, press on nails are like plastic godsends. After you master the application process of press on nails, the next step is to learn how to remove them. The good news is that according to experts, while press on nails may have complex and intricate designs, the process of removing them is not.
Awesome is the perfect word to describe press on nails. Removing press on is very easy because these are just plastic most of the time. These come off easy and fast, unlike their gel or acrylic counterparts. The fact that they are easy to apply and easy to remove makes them a popular choice for many ladies right now.
Another great thing about press on nails is that they are easier to remove if you wear them longer. Many women like to get the most out of wearing their press on before taking them off to let the bond loosen up a bit.
Read This Next:
One of the most common concerns when it comes to nail removal is none other than damage. However, experts state that any damage to the natural nails underneath often occurs before the press ons are applied and not necessarily during the process of removal.
This means that you shouldn’t miss out on the fun of wearing press ons just because you are worried about what will happen to your natural nails underneath. You shouldn’t be afraid of the removal process, either.
If you have already explored the exciting world of different options of press on nails to find the perfect set for you, you can be sure that you are past the most difficult step of this experience. The only thing left for you to do is to follow some foolproof tricks on how to remove press on nails without ruining them.
Tools You Need for Press On Nail Removal
You will need a few tools for removing press on nails without ruining them, and these include the following:
- A metal pusher or orangewood stick
- A small bowl (don’t use a plastic one if you plan to use acetone)
- A nail buffer
- Cuticle nippers (get another pair of cuticle nippers made especially for removing press on nails since the plastic may create tiny fissures in the blade)
- Pure acetone or liquid soap
- Nail clippers
- A nail file (optional)
1. Start with the Optional Step of Using a Nail File
Some professional nail technicians don’t start the process by filing the nails. However, this step is recommended to do for press on nails studded with accents such as rhinestones.
When you file first, this will not only thin the press on. At the same time, the rough surface will also make it easier for the soap or acetone to penetrate the crevices, letting the nail come up faster.
Read This Next:
Use the backup cuticle nipper pair to chip away at the crystals and other accents before you proceed to soak the nails.
2. Soak Your Press On Nails
You can now proceed to prepare your soaking station. Experts recommend working with either basic liquid dish soap or acetone for melting your press on nails. Fill the small bowl with 2 to 3 inches of warm water and a generous amount of liquid dish soap. While liquid hand soap also works, dish soap is still the best.
Soak your fingers in the solution for approximately 15 minutes. After 10 minutes of soaking, you can start pressing the edges up and down for the tips to loosen from the natural nails. Make sure you do it gently. Avoid plucking or picking. The soap method lets you save the press-on set if you are planning to wear them again.
3. Proceed to Remove the Press On Nails
Now that you have soaked the press ons, use an orangewood stick to lift them off gently. Again, don’t force them off. If the press on doesn’t release easily, just soak your nails for a few more minutes. You can also add a drop of cuticle oil underneath the press on to further create slip.
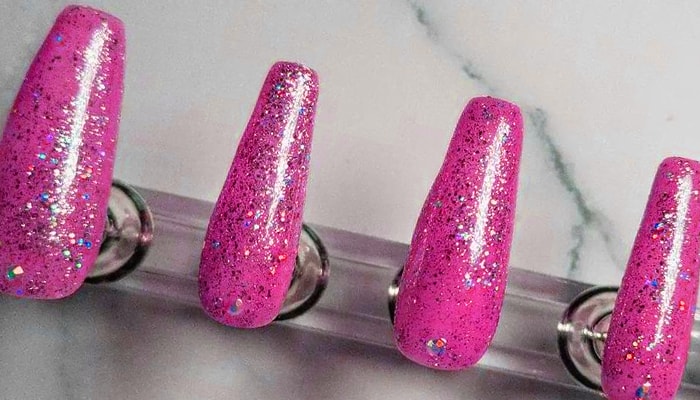
Read This Next:
4. Begin Buffing Away
Once your natural nails are exposed, you should now use the buffer for removing any leftover adhesive. Make sure that you do it gently. If there are still large chunks of remaining adhesive on your nails, soak them again. You should only use the buffer on smaller amounts of residual adhesive.
5. Rehydrate Your Nails and Hands
Unlike other types of falsies such as acrylics or gel extensions, press on nails are less likely to cause damage to your natural nails. However, the process of soaking might cause some irritation or dryness.
After removing your press on nails, it’s time to pamper your skin barrier. Use a good quality hand moisturizer for the outer layer of your skin to stay in tip-top condition.
Aside from rehydrating your hands, you can also use cuticle oil to spruce up your nails. There are now plenty of options to help you maintain moisture in your nails and hands.
If the press ons end up damaging your natural nails’ surface, you need to wait for them to grow out first to see an improvement in the quality of your nails. Buff and protect them using regular nail polish. However, since the nails’ keratin is dead tissue, this will not repair itself in the same way your skin does.
Choose Your New Set
Now that you know how to remove press on nails without ruining them, you are ready to welcome your new set. Of course, you can always reapply the old one because you didn’t ruin them, but you can also apply a new set right away and enjoy flaunting your gorgeous nails all over again.


